How to Draw a Cute Dog
Learn to sketch a cute cartoon dog from basic shapes to final details, perfect for beginners to enhance their drawing skills.
How to Draw a Cute Dog
Drawing can be a delightful and rewarding experience, especially when you create something as cute as a dog! In this tutorial, you will learn how to draw a charming cartoon dog step by step. We will start with basic shapes and gradually add details to complete your adorable canine. Grab your pencil and paper, and let’s get started!
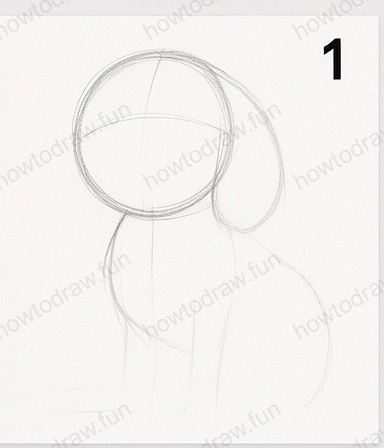
Step 1:
In the first step, begin by drawing a large circle for the head and a smaller oval shape beneath it for the body. These basic shapes will serve as the foundation of your dog. Make sure to position the head circle slightly overlapping the body oval, as this will help with proportions. To add more structure, lightly sketch a vertical line down the center of the head and a horizontal line across it. This will guide you in placing the facial features later on. Use a light touch with your pencil to ensure that the lines can be easily erased later. Common mistakes include making the head too large compared to the body or placing the shapes too far apart. Focus on achieving balanced proportions.
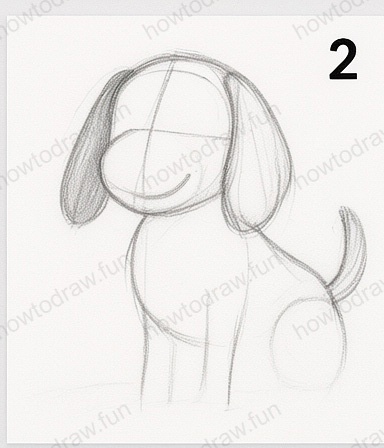
Step 2:
Now, let’s refine the shapes. Using the guidelines, start shaping the dog’s head by adding curved lines that form the ears and snout. For the ears, create soft, floppy shapes on either side of the head. The snout should extend from the bottom of the head circle, forming a round shape that gradually narrows. At this stage, you can also add a small circle at the tip of the snout for the nose. Sketch the body by defining the legs, making sure they are proportionate to the head. Avoid making the legs too thin; they should be sturdy to support the body. Remember to keep your lines light as you refine these shapes.
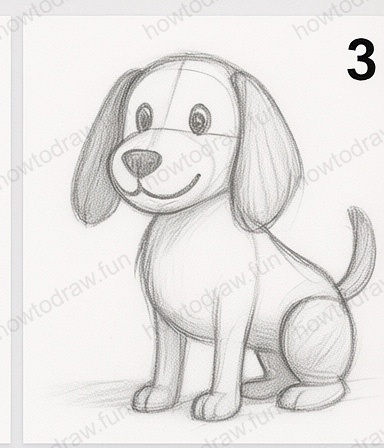
Step 3:
In this step, begin adding details to your dog. Start by drawing large, round eyes using the guidelines you created earlier. Place them symmetrically on either side of the vertical line. Add pupils and a small eyebrow line above each eye for expression. Next, refine the mouth area by sketching a curved line for the smile just below the snout. You can also add a line that connects the snout to the head, enhancing the structure. Define the legs more clearly by adding paws at the bottom. Pay attention to the angles of the legs; they should look natural and relaxed. Avoid overcomplicating the details at this stage—keep it simple and cute.
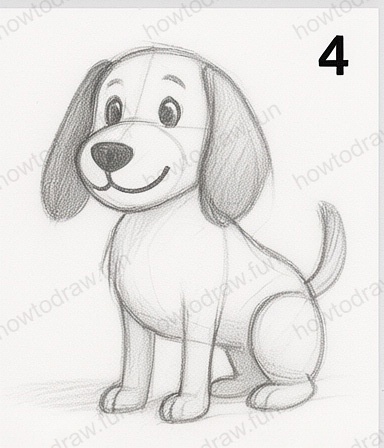
Step 4:
Now that the basic structure is in place, it’s time to add more character to your dog. Begin by emphasizing the ears and body with curved lines to give them a fluffy appearance. You can create a furry texture by adding short strokes around the edges. Refine the mouth and add a tongue if you like! At this point, you might want to add some details like a collar or a tag, which adds personality. Ensure that the features you’ve drawn are harmonized with the overall shape of the dog. Common mistakes include making the features too small compared to the head or body, so keep checking proportions as you go. This step is all about bringing your character to life!
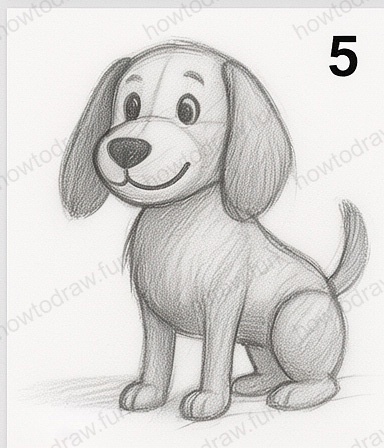
Step 5:
In this step, we will focus on adding more depth to your drawing. Use your pencil to add shading to the body, particularly on one side, to create a sense of volume. Lightly shade the areas that would naturally be in shadow, such as under the ears and along the belly. Use a blending technique by smudging lightly with your finger or a blending stump to create a smooth gradient. Be careful not to overdo it; subtlety is key. Ensure that the highlights on the other side of the body remain lighter to maintain a three-dimensional look. This step may take some practice, but don’t worry—experimenting with shading will improve your skills.
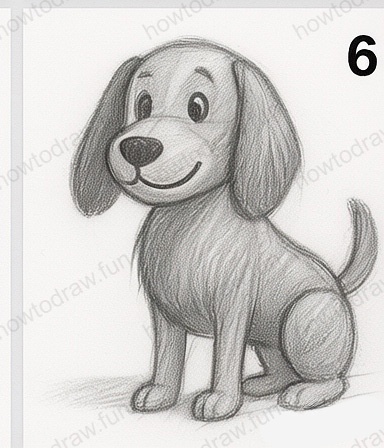
Step 6:
Finally, it’s time to complete your drawing with the finishing touches! Go over your outlines with a darker pencil or pen to make the features stand out. Erase any unnecessary guidelines and smudges to clean up your artwork. You can enhance the fur texture by adding more short strokes along the body and head. If desired, add a background or some elements like grass or a ball to give context to your dog. Take a step back and view your drawing from a distance to see if any areas need adjustment. Remember, practice makes perfect! The more you draw, the better you will become.
In conclusion, you’ve successfully learned how to draw a cute cartoon dog from start to finish! This tutorial provided a comprehensive approach to building a character using basic shapes, adding details, and incorporating shading. Don’t hesitate to explore variations by trying different poses or expressions for your dog. Keep practicing regularly, and experiment with different styles and techniques. Drawing is a journey, and each piece you create will help you grow as an artist. So grab your sketchbook and keep those pencils moving!
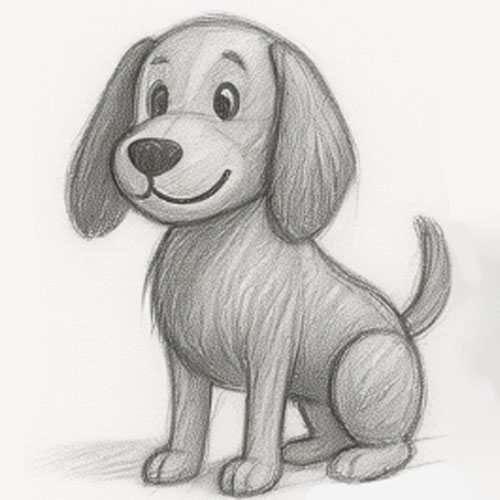
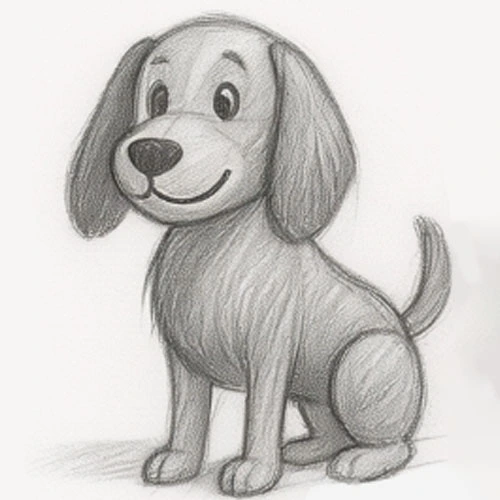
Reference Image
Here's the complete reference image:

More Beginner Tutorials
Ready for Intermediate Tutorials?
How to Draw a Realistic Dog
Learn to create a lifelike dog drawing through step-by-step instructions, focusing on shapes, shading, and details.
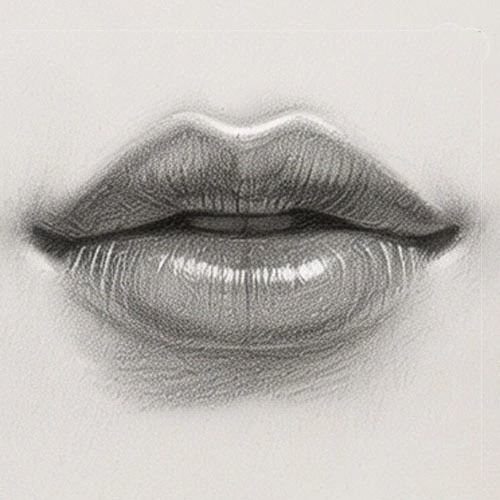
How to Draw Realistic Lips
Learn to draw realistic lips with step-by-step guidance, focusing on shape, shading, and highlights to create depth and dimension.